We know you. You’re a person with great ideas who is ready for a bigger stage. Of course, you’re also savvy enough not to spend good money on what is available for free. And make no mistake: you can set up and host a webinar free without sacrificing professional quality. Here’s how:
Step 1. Create a Free Webinar Account
It couldn’t be easier to get a free account. Head to FreeConferenceCall.com, enter an email, create a password and sign up. Within seconds, you’ll have a dial-in number, access code, PIN — and the capability to connect with up to 1,000 eager webinar participants for free.
Step 2. Download the Online Meeting Tool
Your account is now active, so get ready to make the most out of it. Locate Online Meetings in the menu bar and select Host a Meeting. This will trigger the Desktop App to download. Just follow the steps.
Step 3. Make Your Meeting Wall Webinar-Friendly
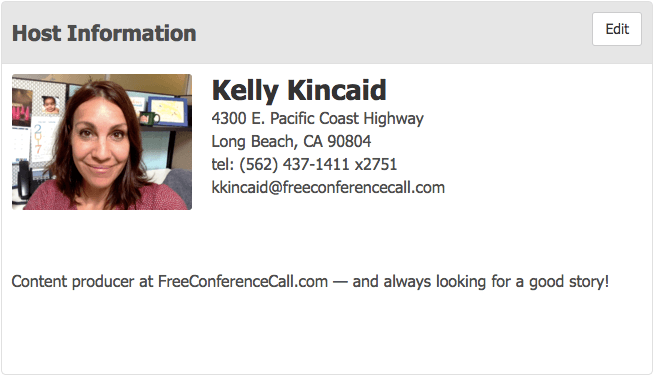
Every account comes with a customizable Meeting Wall. The Meeting Wall serves as a landing page for webinar participants, so take a few minutes to make it more meaningful. Start with personalizing Host Information. Click Edit to upload a picture, add contact information and post a brief professional summary.
Since one of the keys to a great webinar is organization, set yourself up for success with the Calendar and Meeting Resources features. Quickly add, view or edit events through the Calendar and download the Google Gadget or Outlook® Plug-in to integrate your personal calendar with your conference account. Upload documents, videos or links to Meeting Resources and help participants prepare for the webinar. Tip: Edit file names to clearly correlate with the upcoming webinar.
Too much white space for your taste? Click the drop-down menu on the top right of the page to select Wall Preferences. Then upload a background image or change the color palette. While you’re here, make sure to toggle on the features you need during the webinar, such as Chat. You can choose to add a layer of security by enabling a password for activated features, which means you would need to provide a password to anyone who comes to your Meeting Wall to access these pieces of information.
Step 4. Get Cozy with Your New Tech
Is the big presentation ready? Before rehearsals begin in front of patient family members, friends and co-workers, head back to the award-winning online meeting tool you downloaded earlier. Open up that new desktop icon — the one that looks like an old-school telephone — and choose Record. Once finished, you will receive the link to your recording. Play it to identify trouble spots and let others review on their own.
Tip: For one practice session, think about recording just the audio. Playback will help identify gaps for those members of your webinar audience that might only be listen-only.
While practicing, consider using it to create a teaser video, clearly laying out the problem or issue your webinar will tackle. This will be a great attention-getter to use when promoting your webinar. There’s one last thing to familiarize yourself with: Web Controls.
From the Meeting Wall, Web Controls can be found on the gray bar across the top of the page. Once there, choose the Conference Settings and Online Meeting Settings for the webinar. If the event structure calls for a Q&A session, just toggle this option from Audio Controls (the default is set to OFF). Feeling the need for a live test run? Our Customer Care team is happy to be your guinea pig.
Step 5. Invite Participants
Get ready to spread the word. Invite participants directly from the Meeting Wall or through the calendar plugins. Otherwise, share the time, date and Meeting Wall link on your website or through social media.
Tip: Be aware of different time zones when you invite participants.
As author Ben Parr asserts, “People will pay a ridiculous amount of attention to information they think is relevant.” Fortunately, you’ve already been working that angle. Leverage the teaser video you created with the Studio Recording feature to hike enthusiasm for your event. Just share a direct link to the recording or embed it on your website. To keep interest piqued, consider “leaking” one in a series of tips or trade secrets.
Step 6. Host the Webinar
By now, you’re a webinar pro. You’ve got this under control. Just take deep breaths and remember to record. If your mind goes blank and you forget how to record a webinar, it’s that little red circle on your Meeting Dashboard.
Step 7. Share the Recording
Of course, you would never forget to record. And now you have awesome content to market and get the most out of your webinar. Don’t panic if you misplace the link — it’s all on the History & Recordings page, accessible from the Meeting Wall (gray bar on the bottom of the page).
Step 8. Use the Account Again
Selling seats to your webinar? If you want a unique Access Code for each webinar or online meeting so participants can’t get in with previously used meeting credentials, you can create a new Access Code. On the Account Information page, click Pencil next to whatever needs changing.
We hope that helps. Ready to host a webinar free? Or get more tips on running a free webinar.